[English translation may be some day]
К любому разработчику на OpenGL периодически приходит Малевич. Происходит это неожиданно и дерзко, ты просто запускаешь проект и видишь черный квадрат вместо чудесного рендера:
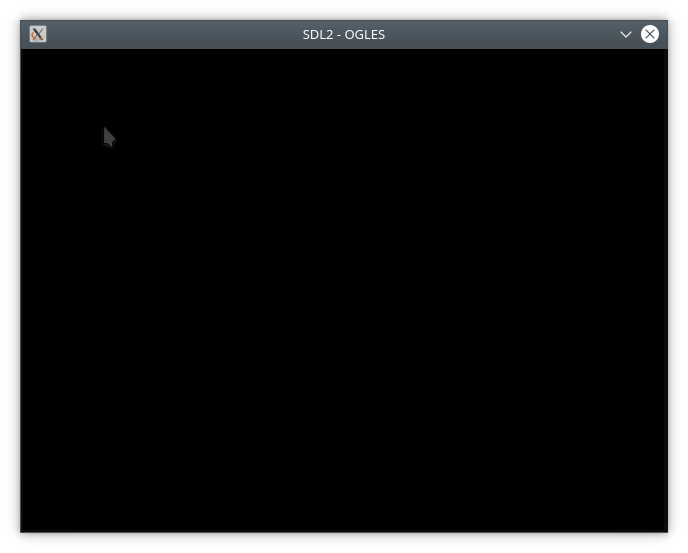
Сегодня я опишу по какой причине меня посетил черный квадрат, найденные проблемы из-за которых OpenGL ничего не рисует на экране, а иногда и вообще делает окно прозрачным.
Используй инструменты
Для отладки OpenGL мне помогли два инструмента: renderdoc и apitrace. Renderdoc – инструмент для отладки процесса рендеринга OpenGL, просматривать можно все – вертексы, шейдеры, текстуры, отладочные сообщения от драйвера. Apitrace – инструмент для трейсинга вызовов графического API, делает дамп вызовов и показывает аргументы. Также есть великолепная возможность сравнивать два дампа через wdiff (или без него, но не так удобно)
Проверяй с кем работаешь
У меня есть операционная система Ubuntu 16.10 со старыми зависимостями SDL2, GLM, assimp, GLEW. В последней версии Ubuntu 18.04 я получаю сборку игры Death-Mask которая ничего не показывает на экране (только черный квадрат). При использовании chroot и сборке в 16.10 я получаю рабочую сборку игры с графикой.

Похоже что-то сломалось в Ubuntu 18.04
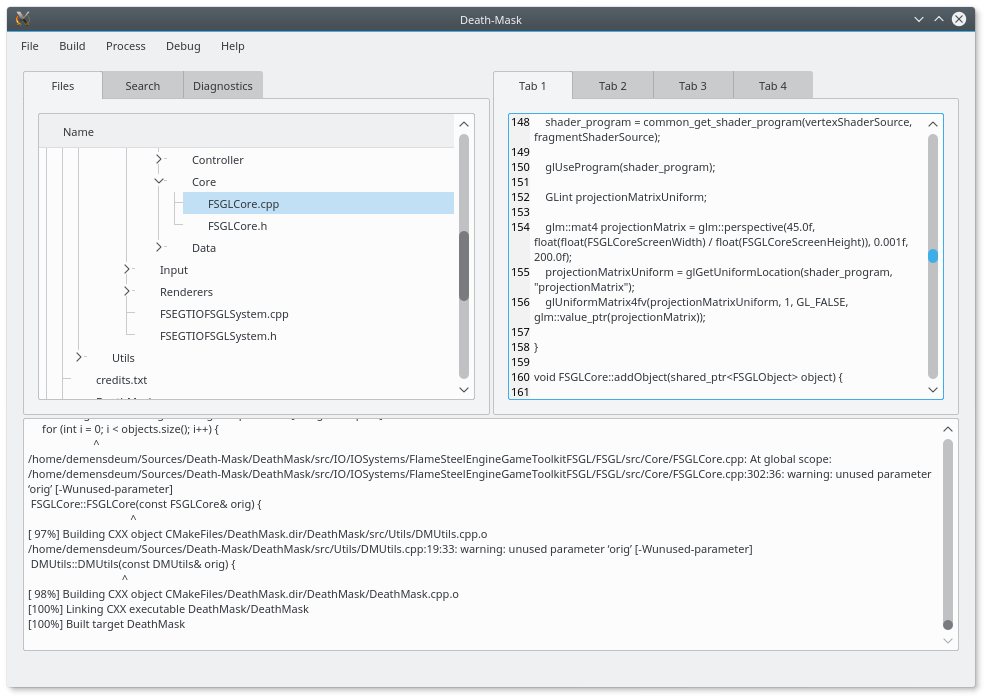
LDD показал линковку к идентичным библиотекам SDL2, GL. Прогоняя нерабочий билд в renderdoc, я увидел мусор на входе в вертексный шейдер, но мне нужно было более солидное подтверждение. Для того чтобы разобраться в разнице между бинариками я прогнал их оба через apitrace. Сравнение дампов показало мне что сборка на свежей убунте ломает передачу матриц перспективы в OpenGL, фактически отправляя туда мусор:

Матрицы собираются в библиотеке GLM. После копирования GLM из 16.04 – я снова получил рабочий билд игры. Проблема оказалась в разнице инициализации единичной матрицы в GLM 9.9.0, в ней необходивно явно указывать аргумент mat4(1.0f) в конструкторе. Поменяв инициализацию и отписав автору библиотеки, я принялся делать тесты для FSGL. в процессе написания которых я обнаружил недоработки в FSGL, их опишу далее.
Определись ты кто по жизни
Для корректной работы с OpenGL нужно в добровольно принудительном порядке запросить контекст определенной версии. Так это выглядит для SDL2 (проставлять версию нужно строго до инициализации контекста):
    SDL_GL_SetAttribute( SDL_GL_CONTEXT_MAJOR_VERSION, 3);
    SDL_GL_SetAttribute( SDL_GL_CONTEXT_MINOR_VERSION, 2);
    SDL_GL_SetAttribute( SDL_GL_CONTEXT_PROFILE_MASK, SDL_GL_CONTEXT_PROFILE_CORE );
Например Renderdoc не работает с контекстами ниже 3.2. Хочется отметить что после переключения контекста высока вероятность увидеть тот самый черный экран. Почему?
Потому что контекст OpenGL 3.2 обязательно требует наличие VAO буфера, без которого не работают 99% графических драйверов. Добавить его легко:
    glGenVertexArrays(1, &vao);
    glBindVertexArray(vao);
Не спи, замерзнешь
Также я встретился с интересной проблемой на Kubuntu, вместо черного квадрата у меня выводился прозрачный, а иногда все рендерилось корректно. Решение этой проблемы я нашел на Stack Overflow:
https://stackoverflow.com/questions/38411515/sdl2-opengl-window-appears-semi-transparent-sometimes
В коде тестового рендера FSGL тоже присутствовал sleep(2s); Так вот на Xubuntu и Ubuntu я получал корректный рендер и отправлял приложение спать, однако на Kubuntu я получил прозрачный экран в 80% случаев запуска из Dolphin и 30% запусков и терминала. Для решения данной проблемы я добавил рендеринг в каждом кадре, после опроса SDLEvent, как это рекомендуется делать в документации.
Код теста:
https://gitlab.com/demensdeum/FSGLtests/blob/master/renderModelTest/
Поговори с драйвером
OpenGL поддерживает канал связи между приложением и драйвером, для его активации нужно включить флаги GL_DEBUG_OUTPUT, GL_DEBUG_OUTPUT_SYNCHRONOUS, проставить оповещение glDebugMessageControl и привязать каллбек через glDebugMessageCallback.
Пример инициализации можно взять здесь:
https://github.com/rock-core/gui-vizkit3d/blob/master/src/EnableGLDebugOperation.cpp