I received a message in my email:
“Hey, we’re opening a retro game jam here – bibitjam3!!! You should make a game for the 8-16 bit retro platform!!!”
Bah! This is my childhood dream – to make a game for Sega Mega Drive Two.
Well, I tried to make a toy, and I even got something:
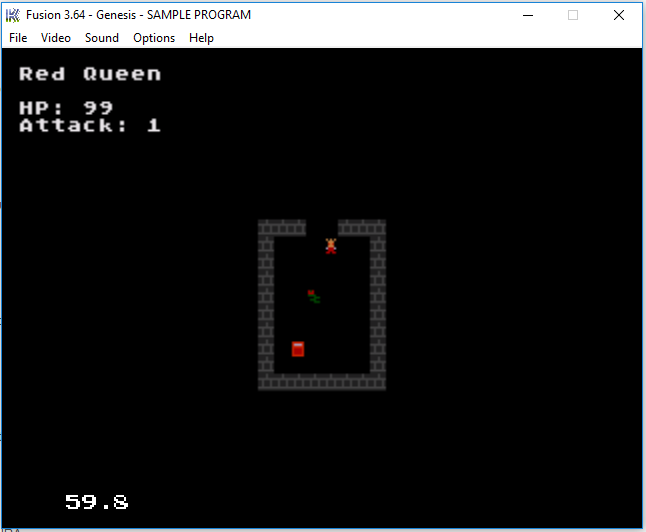
I called the game “Red Queen’s Mess”. The story is this – “The Red Queen was thrown into a deadly labyrinth, now she will kill everyone on her way to freedom.”
You can walk, you can attack the green thing with red eyes, open treasure chests, and move from scene to scene.
This is of course a level “to try” to do at least something for Sega and for the competition.
I use SGDK toolkit – compiler for Motorola 68k based on GCC, libraries for working with Sega Mega hardware.
Now I understand that it was really difficult – to make games 20-30 years ago. For example, each tile – should be divided into pieces of 8×8 pixels and drawn in pieces in turn. Also, the palette for each tile should not exceed 16 colors! Now, of course, it is much easier.
Of course, we need to create a game, sound, and graphics engine for the game, just like now.
You can play Red Queen using Sega Genesis emulator and game ROM:
http://demensdeum.com/games/redQueenRampageSegaGenesis/RedQueenRampage.zip
If you want to see the source code:
http://demensdeum.com/games/redQueenRampageSegaGenesis/RedQueenRampageSource.zip